
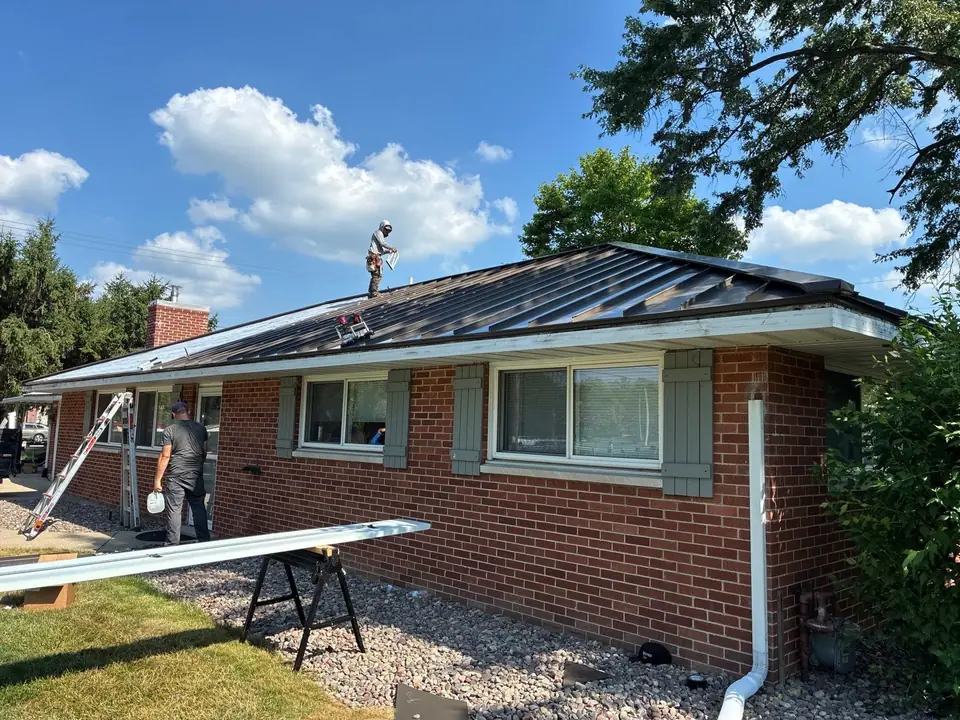
The 8 steps
1. Tear off the old roof
Shingles, felt and old metal come off down to the decking, onto tarps and straight into a dump trailer. On a Lynn, Indiana home that meant an 80-year-old metal roof, the cedar shake under it, an asphalt porch roof and a flat rubber roof.
2. Check and repair the decking
Every board gets looked at. Soft or rotten decking is cut out and replaced with new OSB. We never install over rotten or damaged decking.
3. Ice and water shield and underlayment
Self-adhering ice and water shield goes at the eaves, valleys and other leak-prone spots, or across the whole deck, with synthetic underlayment over the rest. On our Centerville job the entire deck got ice and water shield.
4. Trims and flashings first
Drip edge, valley metal, sidewall and endwall flashing, and chimney flashing go on before any panels. Doing the hard details first means less foot traffic on finished metal and fewer scratches.
5. Form the panels
A trailer-mounted roll-former turns a coil of painted steel into panels cut to the exact length of each slope, one piece from eave to ridge. (TuffRib and PBR panels arrive pre-made.)
6. Set and fasten the panels
Standing seam panels are held down by clips screwed to the deck and hidden under the seam, so the metal can expand and contract. Each panel is checked against the rake edge as it goes. On one Xenia roof we pulled five panels and reset them because they were drifting out of line.
7. Lock the seams
Snap lock panels snap together over the clips. Our Euro-Lock double lock seams are folded over twice with a seamer along the full length of every panel.
8. Ridge, penetrations and cleanup
Ridge and hip caps, pipe boots, vents and any snow guards go on, gutters are hung if they are part of the job, and the yard is cleaned. Then we walk the finished roof with you.
Standing seam vs. exposed-fastener installation
| Standing seam | Exposed fastener (TuffRib, PBR) | |
|---|---|---|
| How panels attach | Hidden clips under the seam | Screws with rubber washers through the panel face |
| Panels made | Roll-formed on site | Pre-manufactured, delivered by trailer |
| Typical buildings | Homes, churches, low slopes | Pole barns, shops, warehouses |
| Long-term upkeep | Very little | Screws and washers need checking over the years |
How long does installation take?
It depends on size, pitch and how many chimneys, valleys and dormers the roof has. One customer who had three two-story homes re-roofed by our crews told us each took about 3 to 4 days. Decking repairs and weather can add time.
What DIY videos leave out
Laying panels is the easy part. Leaks on metal roofs almost always start at the details: valleys, chimneys, walls and pipe penetrations. For example, a home with aluminum siding cannot have its wall flashing tucked behind the siding the way vinyl allows, so it has to be flashed in place. Getting the details right is what the warranty is really paying for. Watch how it is done in our job-site videos.